
The SharePoint web part is an optional generation that occurs along with an Enhanced UI Task Project.
So the first step in setup for being able to generate a web part Visual Studio solution is creating a new UI Task Project (skip if you already have a UI Task Project to work with):
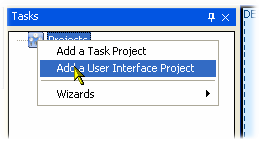
1.Open the Tasks panel, and right-click on the Projects node, then select Add a User Interface Project:
2.Set the name of your project:

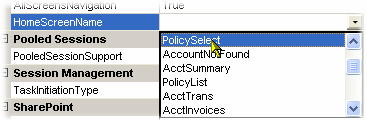
3.As with any Task or UI Project, a Home Page needs to be selected:
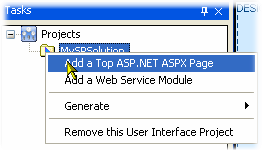
4.Right-click on the UITaskProject node and add a Top Page, which is required for the UI Project definition:
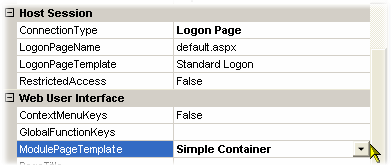
5.Set the name to "Top" in the properties or any appropriate name (there will be an ASPX page created with the same name, and is set as a URL in your web parts), then select a ModulePageTemplate for the top page. For SharePoint web parts, we recommend a Simple Container, which has no navigation menus:
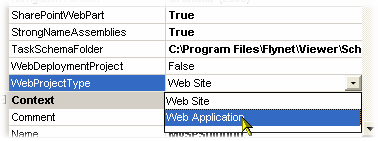
6.Next, the TaskProject properties need to be updated to select the optional Web Part creation:


7.For Visual Studio 2012, 2010 and 2008, we recommend the Web Application Project type, as this is compatible with the Visual Studio 2010 Web Deploy feature:
8.Scroll down in the Properties to Set SharePoint properties--here are examples of some changes made in the sample:

For the SharePointProjectType property, the new VS2010 SP Project is selected instead of the default, WspBuilder, which is recommended for VS2008 or when targeting MOSS 2007 or WSS 2007.
The SharePointServer name is set to the presumed target server, which helps in generating default URL's as well as deployment options for the Visual Studio web part project.
At this point, the SharePoint settings have been made to generate the additional SharePoint Project (and Solution header).
