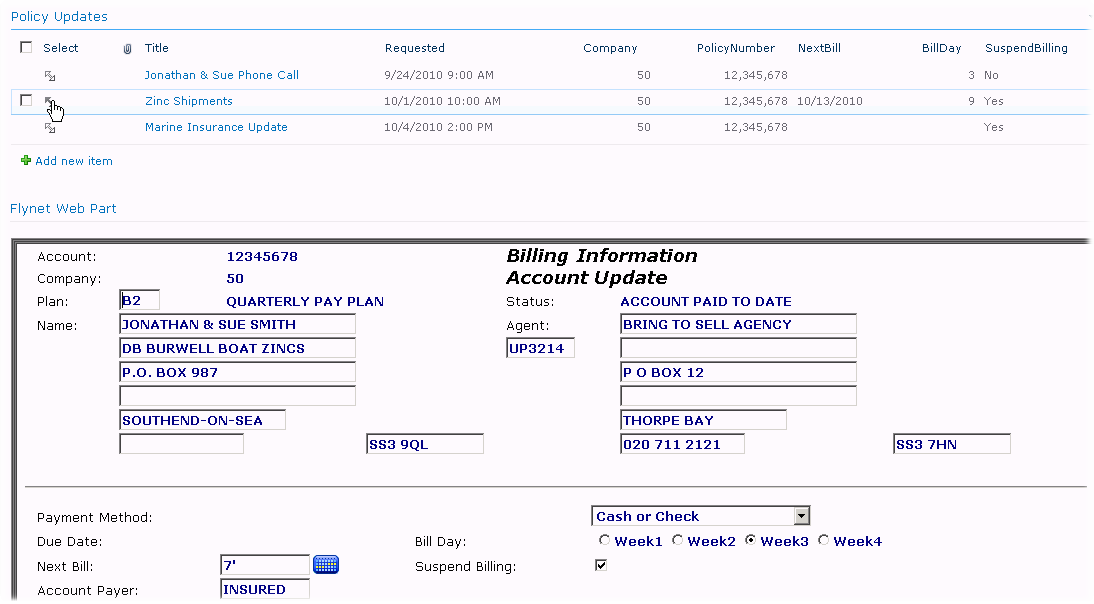
In this walk-through, a web part page will be created that includes a Row Provider connection from a list web part to the Flynet Web Part.
With this capability, SharePoint users can drive data entry to the host screens by clicking on a list row.
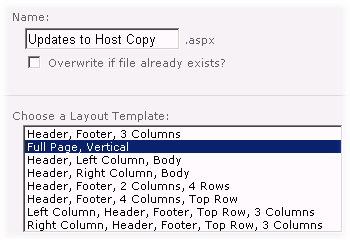
1.Follow the first two steps in the Create Web Part Emulation-Only Page only you will want a different page name:
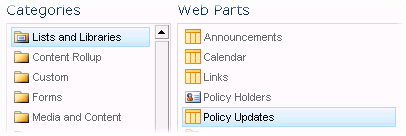
2.Since web parts are added "bottom-up" on this page, you want to add the Flynet web part first:


3.Then the List view web part. Our sample list is named "Policy Updates":

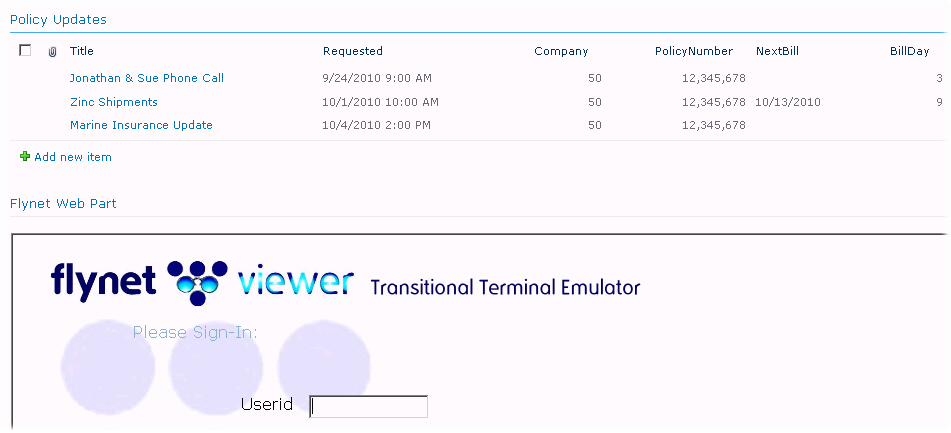
4.This produces a page that looks like this (your list will not have the same fields!):
5.Next, set the Row Provider connection to send data FROM the List TO Flynet (mouse over top right of list web part):
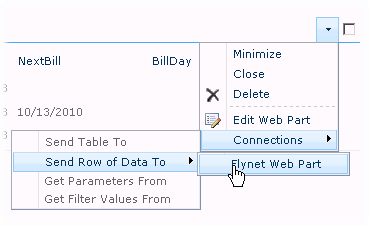
6.Now, the script for the Row Consumer action needs to be set in the Flynet Web Part. Edit the Flynet Web Part:
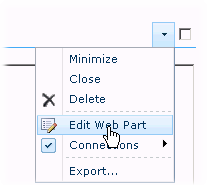
7.Click into the Row Consumer Script property and click on the Editor Launch button:
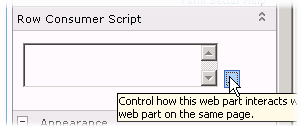
8.This launches the Script Editor, which has its own help--for more information on creating a Row Consumer Script, see the Row Consumer Script Help
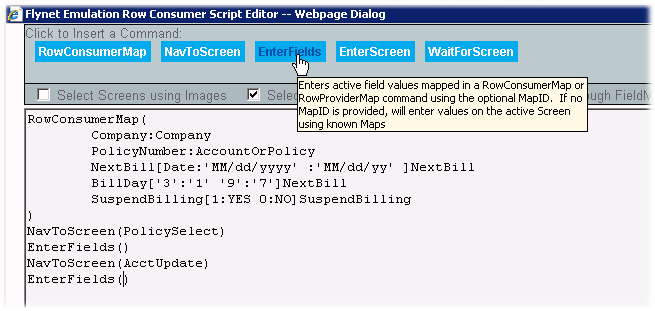
9.The following is an example script that works with the Flynet sample Simulated Host script and Sample Flynet screen definitions. Each time a row connection is clicked, it navigates through a "starting point" which in this case is a Policy Select screen, then enters data, copying from the SharePoint list item to the host screen. In this screenshot, the final macro has been inserted using the Intelli-Header:
10.Once the script has been saved, and the Edit Properties for the Flynet web part Saved, you can stop editing the new web part form, and test it from the Home Page. You may need to logon and if so, on the logon the script will run, unless the web part for the list is set to NOT send the first row on display. Here is a click on a row with the host application showing the data entered:
