
As the first step in how the Flynet Web Part works in a SharePoint environment, this walk-through shows how to create a simple Site page that provides access to the enhanced ASP.NET UI (which is a mix of enhanced screens-as-web pages and terminal emulation).
1.Depending on your SharePoint 2010 Site configuration, you may or may not have a simple link to create a new Web Part page--in this example, the Site Actions link is used (you must have authority for this):
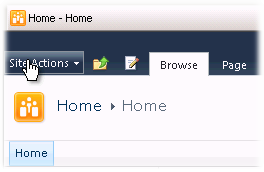
Select the More Options... menu selection so that you can select a Web Part page...
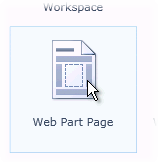
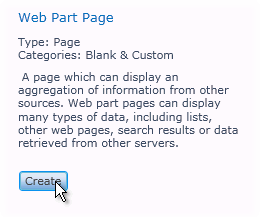
2.This example is on a PC with SilverLight installed, so the "nice" Site Actions page provides a group of large icons--scroll down to the Web Part Page icon, click on it and then click on Create
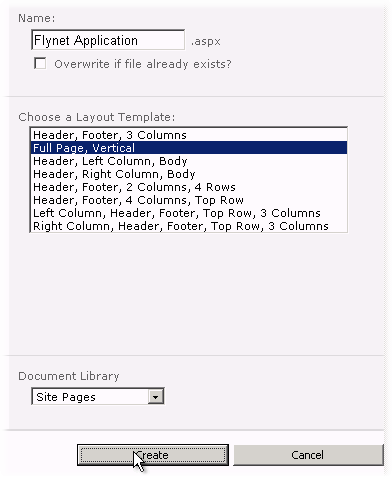
3.Here the web part page has been named, "Full Page, Vertical" selected, the location set to Site Pages, and Create is clicked:
4.The new page is displayed in Edit mode--click on Add a Web Part:

5.Select from the Category Custom the Flynet Web Part you Deployed in the Visual Studio Activities (the name may be different than you see here, depending on your naming):
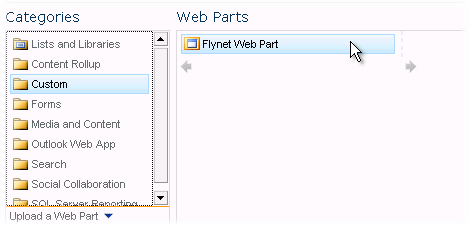
6.Click on the Add Button to add the Flynet Web Part
7.Click on the Stop Editing Button and return to the Site Home to test your new Site Page:
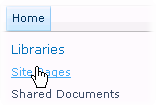
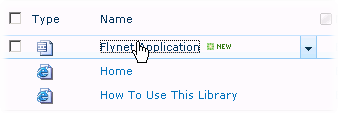
8.Your application should work--logon, check-out the enhanced pages and visit a default (un-enhanced) screen.
Any errors you encounter at this point will need to be corrected before more advanced use of the Web Part is possible. There should be some diagnostic information displayed if there is a security or some other error.
Please contact your Flynet supplier for support with any issues, as we are very familiar with the issues that can arise with SharePoint in the areas of security and session state management.
