
To record a new macro:
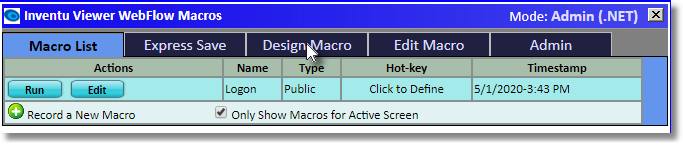
1.Use the Alt-R key-press (R=Record), or click on the Macro management icon and then click on the "Record a New Macro" icon:

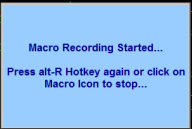
2.This will flash a message and the Macro Manager icon will animate a few red dots to indicate a recording is under way:
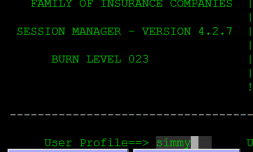
3.Now enter text into all input fields that are part of the activity you are performing. In this example, the sample "Insure Script" simulated host installed with the Inventu Viewer Emulation Service will be logged onto. This logon is fairly complex so by recording a Macro, users will not need to know all the special keystroke combinations needed to simply get connected to their application. Here are the screens we entered in our example:
 [enter]
 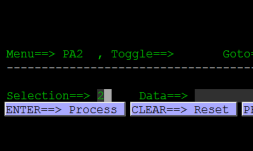 [enter]
 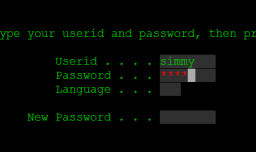 [enter]
 [clear]
  [enter]
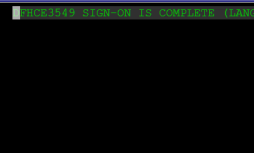
4.At this point in the Simulated Host logon, the first application screen appears--the recording is completed so the next action is to either press Alt-R again, or click on the Macro Manager icon to cause the recording to stop:
5.Sometimes the Designer will not automatically display, if it is still on the List view, click on the Designer tab to display the Macro Designer:
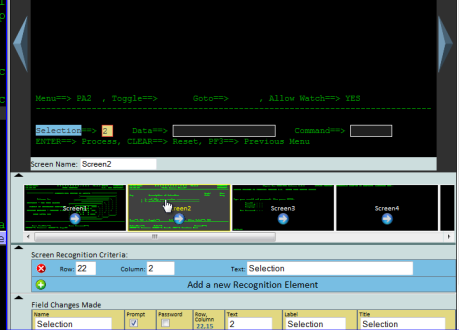
6.Once the designer is displayed, you can click on each screen in the recording and set how you would like the input prompted--in our example, we only care to have the userid and password prompted-for. Here the "Simmy" entered on the first screen is set as an un-prompted constant by un-checking the Prompt checkbox:

Note that you can also change the default text for a variable-this is the initial text displayed in the input form at the start of macro playback
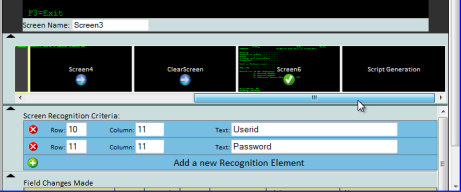
7.To continue designing a simple macro, click on each screen in the Thumbnail and review the settings for Field Changes made--for those you want to display in a prompt, keep the Prompt checked; for those you would like to "hard-code" and simply use the recorded text value, un-check the prompt checkbox.
You can click on a screen thumbnail or use the large arrows to select the active designer screen
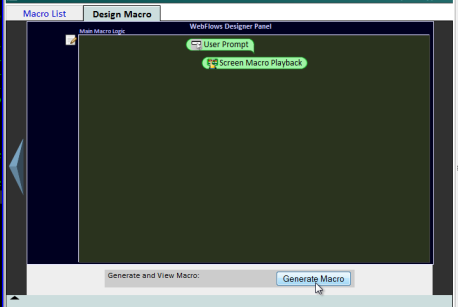
8.When you have set the properties as you want them to be for each Field Change on each screen, scroll the thumbnail view all the way to the right to display the Script Generation Options:
9.Click on the Script Generation panel to initiate the Macro Generation action:
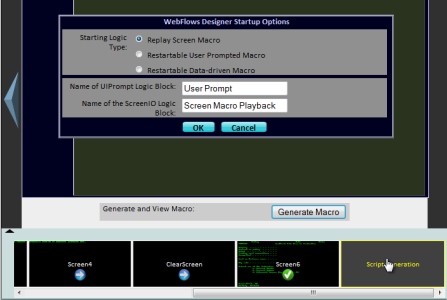
10. The first time the Script Generation panel is visited, you are prompted to initialize the macro design from a list of preset options. For a simple macro playback, the default can be selected. If you wish to change the names of the high-level macro script blocks, you can do it now before clicking the OK button to initialize the design...once you click on OK, the design is displayed.
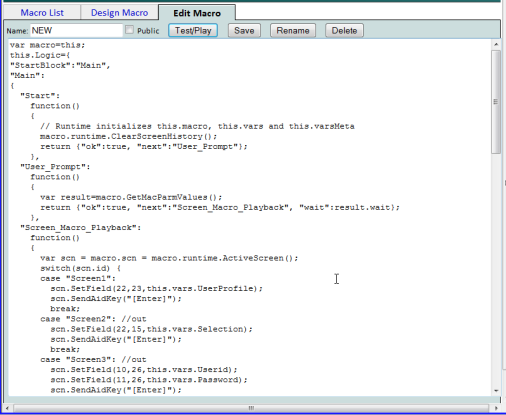
11.For more advanced macros, the design can be edited and expanded with additional logic elements, but for a simple "playback" macro, you can simply click on the Generate Macro button to display the "raw code" javascript of the macro in the text editor.
12. Don't be afraid! You don't need to understand Javascript, which is the language the WebFlow macros run in--you simply need to understand how to save a macro and give it a name...in the next step.
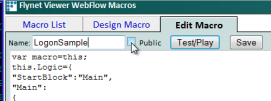
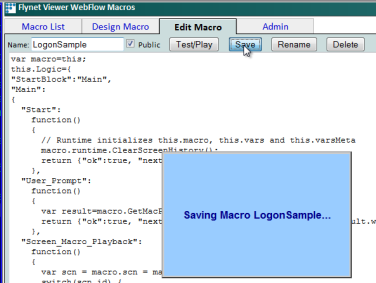
13. To save the macro for re-use, change the name from "NEW" to an appropriate name. NOTE - if you are creating a quick macro for your own use, that does not need to be a public macro, skip to step 17...
Since this is a logon sample, it will be saved as Public, which requires you to know the Administrator's password for the Host your Inventu session is connected to. This password is a Inventu-only password for the WebFlow macros and is set using the Administration option.
14. If you click the Public option without being signed-in, you will see this message. Click OK:
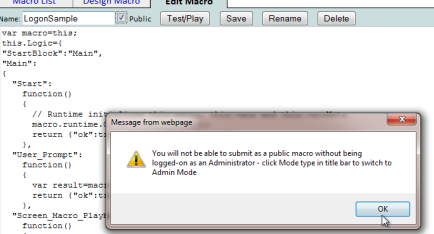
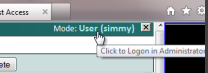
15. To logon as the administrator, click on the active UserID mode:
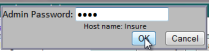
16. This will display the Administration Logon--enter the password (the initial password is varsMeta which should be changed using the Admin functions)
17. Now you can save the macro...
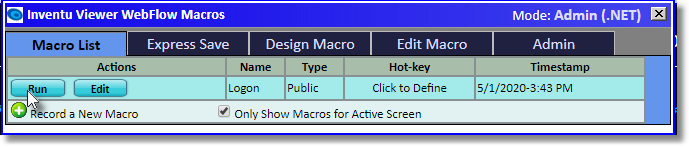
18. To test a logon macro, disconnect from the session, connect back and click on the Macros Icon:


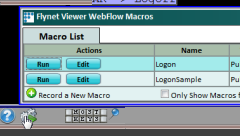
19. Now you can click on the Macro you just created to test it:
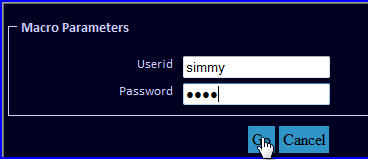
20. In this sample, all Field Changes except the UserID and Password where set to not be prompted, so that the start of the Macro looks like this...for a real Logon, you will want to clear the text for the UserID, but for our Simulated Host, we left the default, as it is the only UserID that works!:

21. Once the values are set, pressing the Enter key or clicking on Go will run the macro, visiting each screen, entering the Field Changes and then using an enter key to advance to the next screen in the macro steps...
22. This macro is now available to all users, and requires no additional installation on their part. Each time a user clicks on the Macro icon, the list is delivered from the server and will be up-to-date, even if a new macro was just added to the public list...
