
Generating the Web Service is achieved with a Wizard that manages options and generates a complete, ready-to-compile Visual Studion ASP.NET Web Service Solution.
Provided Help:
Web Service Wizard Help: The Wizard Pages
Tutorial Section:
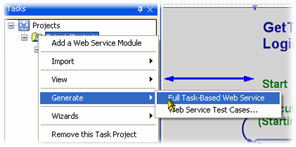
1.To initiate the Wizard, right-click on the TaskProject node and select Generate / Full Task-Based Web Service:
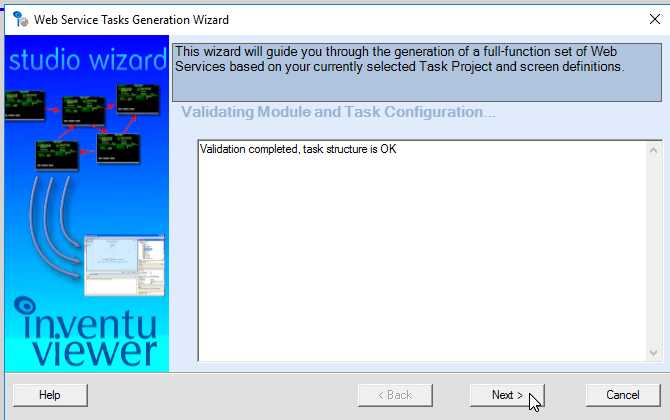
2.At the start of the Wizard, two panels provide validation messages. If your project is missing some screen identification or has some other serious errors impacting the quality of the code generation, the warning and error messages are displayed in these two panels. If the Next button is disabled, it means that you need to read any error messages and make the appropriate corrections:
Additional Help: Module and Task Validation

Additional Help: Navigation Validation
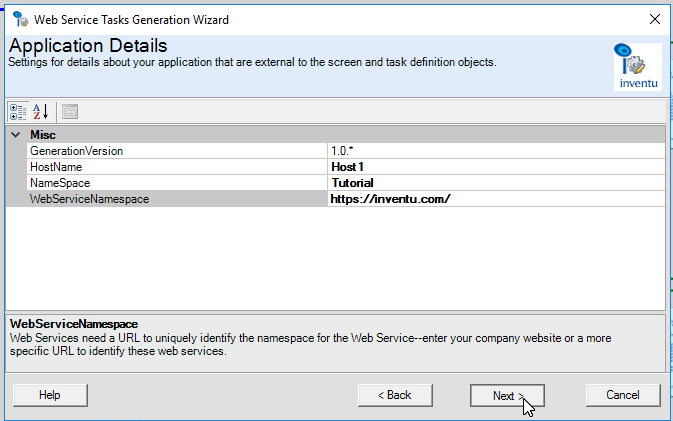
3.The Application Details panel is next, which provides settings for the generated application. The settings here are generally not something you want to change later (although you can) as any customized modules may require a bit of hand editing for such properties as Namespace, which is included in every generated module. The host name is one that you can select here so that it is generated into the web.config correctly (you can easily change this setting later, but in the web.config itself:
Additional Help: Application Details
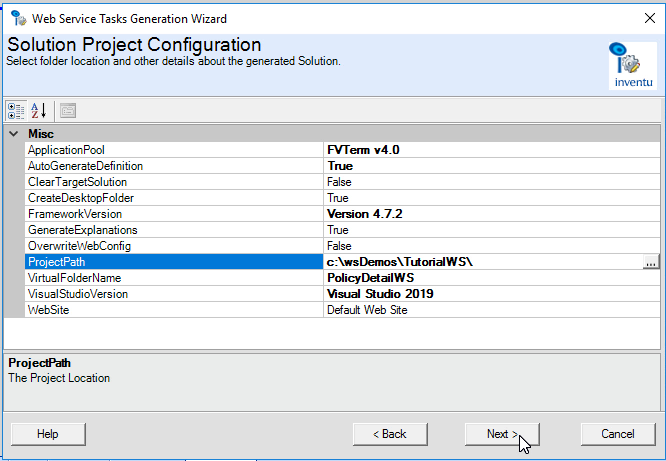
4.The Solution Project Configuration includes details about the Visual Studio definitions generated with your solution:
Additional Help: Solution Configuration
5.Clicking Next on the Solution Project Configuration panel runs the generation. A number of messages will appear, which in the first generation will usually include the same messages visible in the Validation pages. When you generate again into the same Visual Studio folder, which is very common and expected, you will want to watch for merge warnings will are described in a later tutorial.
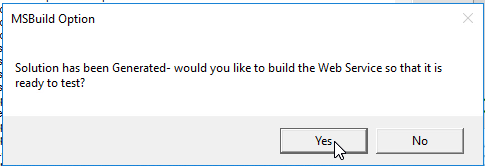
When the Wizard has completed generating the solution, you have the option to run MSBUILD to create a the ASP.NET application ready for testing. Click on Yes:
6.This compiles the application--if there are errors during the compile phase, the errors will be displayed. This may be due to the use of a reserved word or other error, but errors are not expected. Feel free to utilize the Export / Application Archive option and email the archive zip file to your Inventu technical support and we will be happy to help resolve the issue.
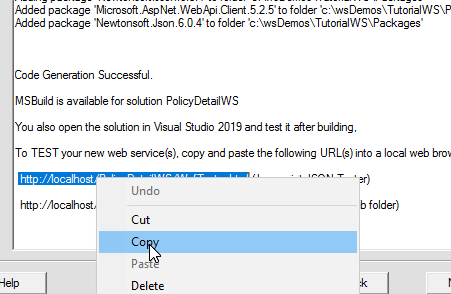
Usually, errors will not occur and you will see messages like the following. Mark and copy the first, with "WcfTester.html" as the page name to the clipboard:
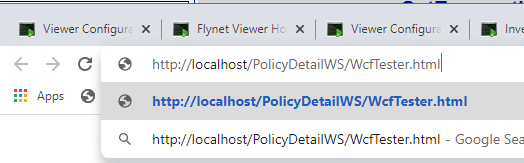
7.Now open a browser, paste the URL and press enter to access the Inventu Javascript-based Test Harness for your Calls (provided for both WCF and WebAPI generations):
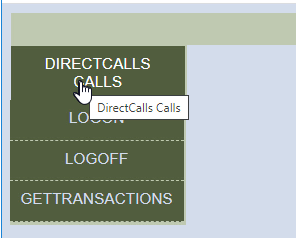
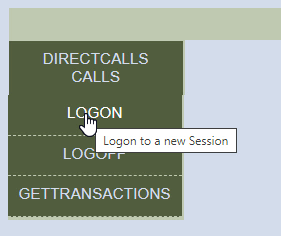
8.Since Pooled Sessions were not selected, the Logon method needs to be called first in order to obtain a Session Key, which is then used as the first parameter for any other web service calls to associate each transaction call with the session obtained with the Logon call...Click on the Top Menu then Logon:
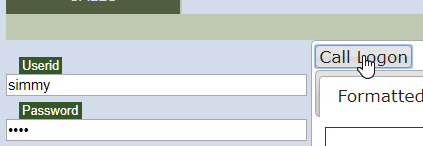
9.You will need to key the credentials to logon, normally userid and password but that depends on the logon sequence in your host. Here you can see the UserID and Password for the Viewer simulated Insurance host application being entered. After entering the parameter values, click on the Call Logon Button:
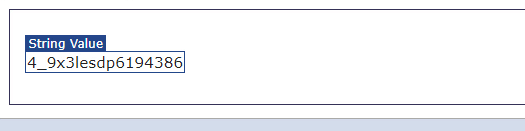
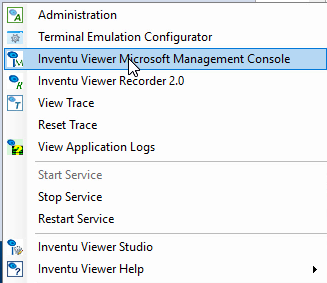
10.A successful logon returns the session key. [Optional:] This is a good time to load the Inventu Viewer+ Microsoft Management Plug-In to view the session. Right-click on the Blue FV icon in tray icon area and select the MMC:
11. [Optional:] You should see the session started--right-click and select View Selected:
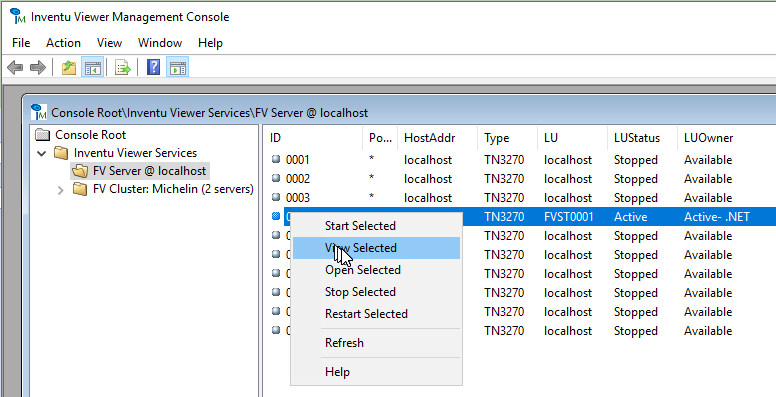
12. [Optional:] This will display a Terminal Emulator attached to the session started with the Logon method, which you can use to watch any subsequent transactions run:

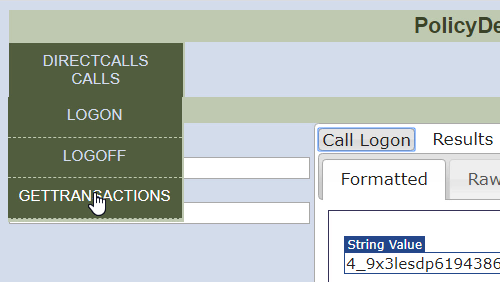
13.Go back to the browser and now test GetTransactions:
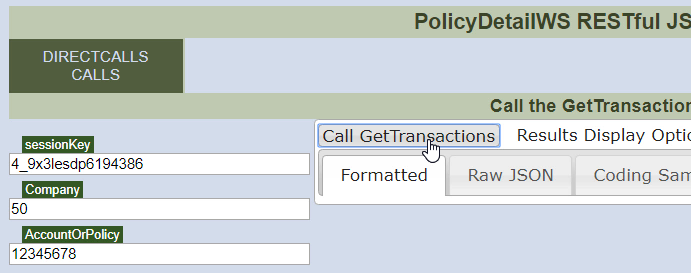
14.Any existing parameter values are saved in local storage and automatically filled-in for you. Enter the Company (50) and Account (12345678) and click on the Call Button:
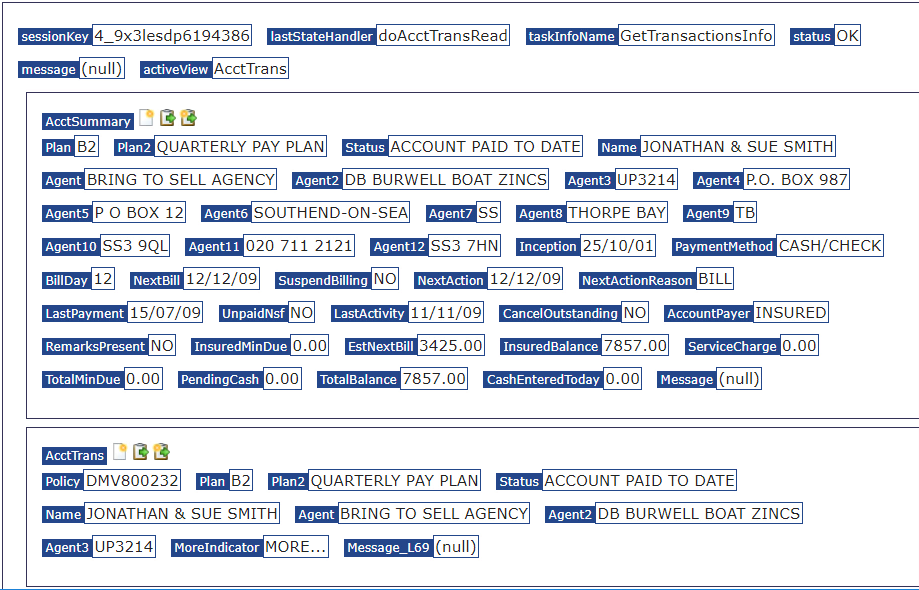
15. This will display the results nicely formatted -- you can scroll to see both the simple as well as list return values:
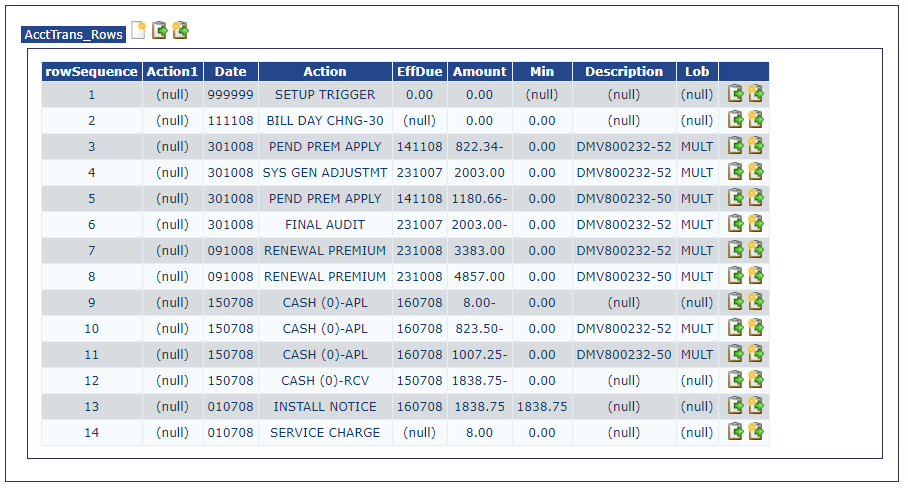
16.When all finished, Select and Run the Logoff Transaction, and the session will be logged-off and terminated (stopped). That is the completion of this tutorial...
