
At this time, it is best that you start to use the provided Tutorial, which has an excellent introduction to the recorder and its use.
Provided Help:
Online Videos:
•Recording Workflows with Recorder 2.0
Tutorial Steps (Cookbook Style from Video, not including Setup):
1.This tutorial will show how to create the first recording of a screen based workflow. It will cover how to open the recorder, creating a new recording including how to name your recording, specifying the target host and setting options.
Goals of the first Recording:
1.First, try your best to achieve a clean logon through to the homescreen that you have identified based on your understanding of screen types, with no userid or password errors. While you can exclude a recording from being used in the generation of auto-logon logic, it is helpful if the early recordings have error-free logons. 2.Along the same lines, try to navigate cleanly through menus without any errors, so that the navigation to the transaction or workflow you are performing will be accurate. If you are using a transaction command, try not to misspell the transaction name, so as not to confuse the generation of navigation. Later recordings will actually record errors on purpose, but it is helpful for the initial workflow recording to be correct, not only for the generation of code but also as documentation when reviewing the recording. 3.Also, try to minimize data entry errors, such as a wrong customer number; once again, this helps avoid confusion in the primary recording of a workflow. 4.Finally, when you the recording of a clean representation of how a particular inquiry or data entry workflow is completed, exit each screen and menu until the system is at the initial welcome screen or the correct screen for disconnecting.
|
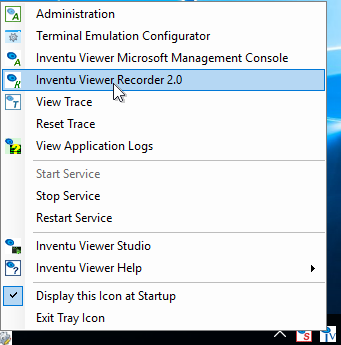
2.The Recorder is launched by right-clicking on the Blue Inventu Viewer+ icon in the taskbar icon tray and selecting Viewer Recorder 2.0:
3.Clicking on the Recorder option loads it, and you can start a new recording by clicking on the Create New Recordings link, or selecting new from the File menu:

4.This opens the New Recording dialog, which lists active recordings while providing a new Recording name set of entry fields. Recording lists are based on the contents of the active Recordings folder and the List filter. The active recordings folder can be changed using the Viewer Service Settings. The List filter, shown here containing the text "policy" causes only recordings starting with Policy to display. The List filter may be changed at any time, which is helpful when working on multiple projects that each involve multiple recordings. You should set the value to an appropriate name for your project recordings.
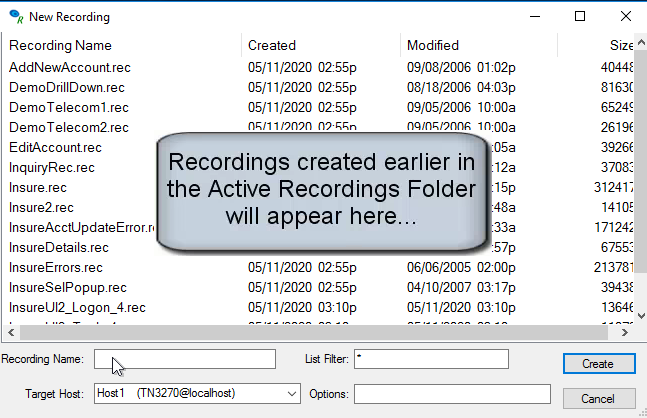
5.The sample recording will be an inquiry designed to pull details for a specific account policy along with account payment information. So it is named PolicyDetail...name yours accordingly:

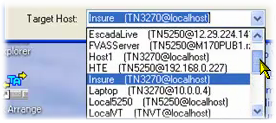
6.The next thing to do is select the target host to perform the recording against. This is a host you have defined using the Administration applet,using the process we've documented in the Add/Change Hosts tutorial step, or may be Host1 which is the host created during Setup, but it needs to point at the same host as the users whose work you will be automating. Once you pick it in the Recorder, the next time you create a recording, the same host will be preselected.
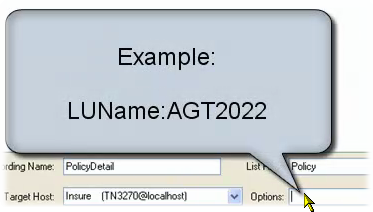
7.While the sample host does not require any additional options, in the case where your users terminal emulator connection definitions include device or LU names, you can set this in the options:
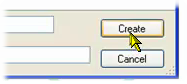
8.With host selected and optional options set, click on the Create to start the recording:
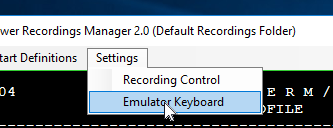
9.This opens the recorder, which behaves like a typical terminal emulator. For background on setting-up the recorder including keyboard mapping and the different modes of recording, please refer to the Recorder 2.0 Setup video. If the online videos are not available, note that the Settings menu options provide information on the keyboard mapping as well as the ability to change the keyboard mapping:
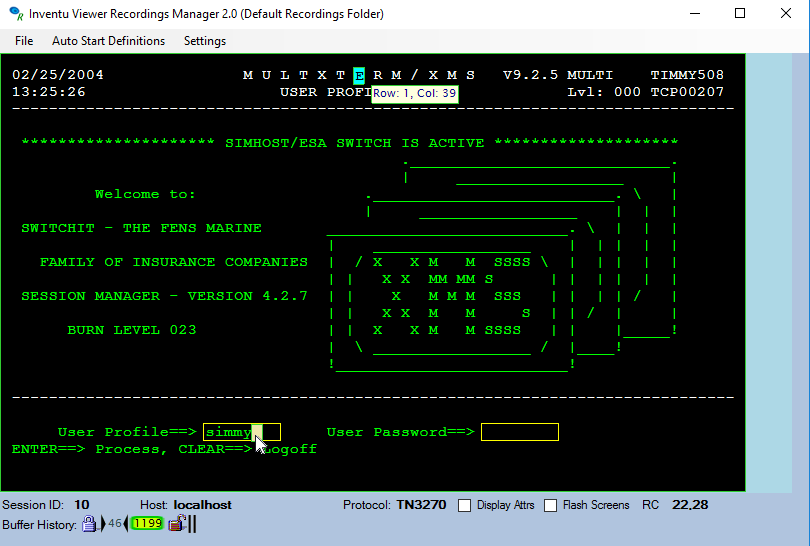
10.Start recording--with 3270 and 5250 IBM protocols, you can backspace and correct entries prior to pressing the Enter or a function key to enter the screen. With the VT220 or VT100 terminal types connected to a UNIX or VAX/VMS host, try to cleanly type each character and tab between fields efficiently in order to keep your first recording as clean as possible:
11.From here, you simply use the terminal emulator to record your first transaction. For 3270 users, following keyboard mappings can be helpful to know, just remember you can change with the menu as described above:
PC Key (as installed) |
Host Key |
Esc --or-- Pause/Break |
Clear Key |
F1-F12 |
PF1-PF12 |
Shift-F1 - Shift-F12 |
PF13-PF24 |
Ctrl-F1, Ctrl-F2 |
PA1, PA2 |
Remember to try to avoid making errors with customer numbers or other key navigation fields in your first recording so that ongoing navigation analysis remains accurate.
Navigate through the screens and visit all screens involved with the portion of your application that matches what you wish to automate with a web service or enhanced UI.
When you have visited the screens involved remember to exit-out each screen back to the initial screen. This also helps ensure that navigation is captured.
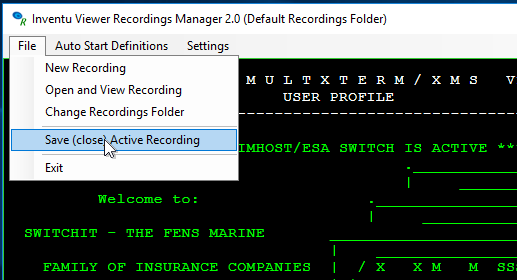
12.If the host doesn't terminate your connection, end the recording with the File / Save option:
13.Your recording is now available for Importing into Viewer Studio.
Next Step: Scrubbing Your Recording
